
Last updated November 20, 2026
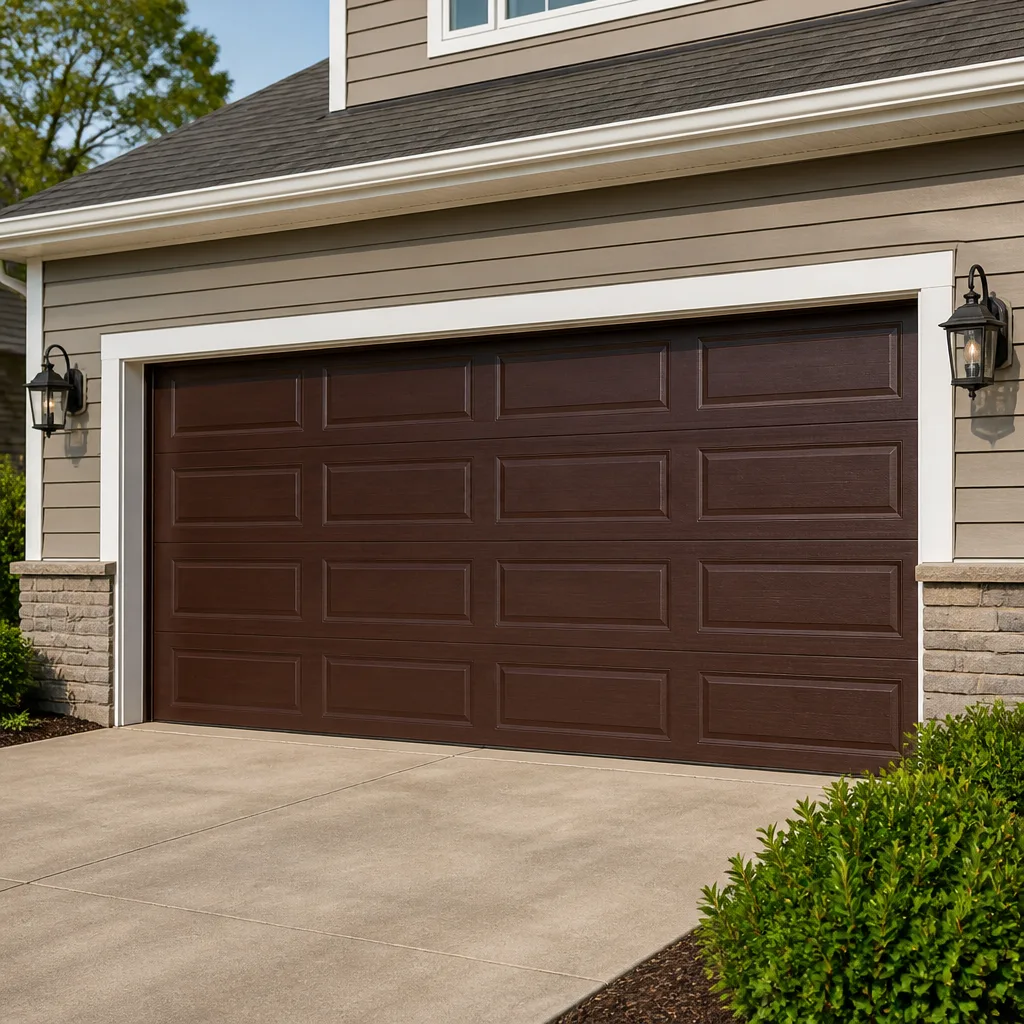 Raised-panel steel
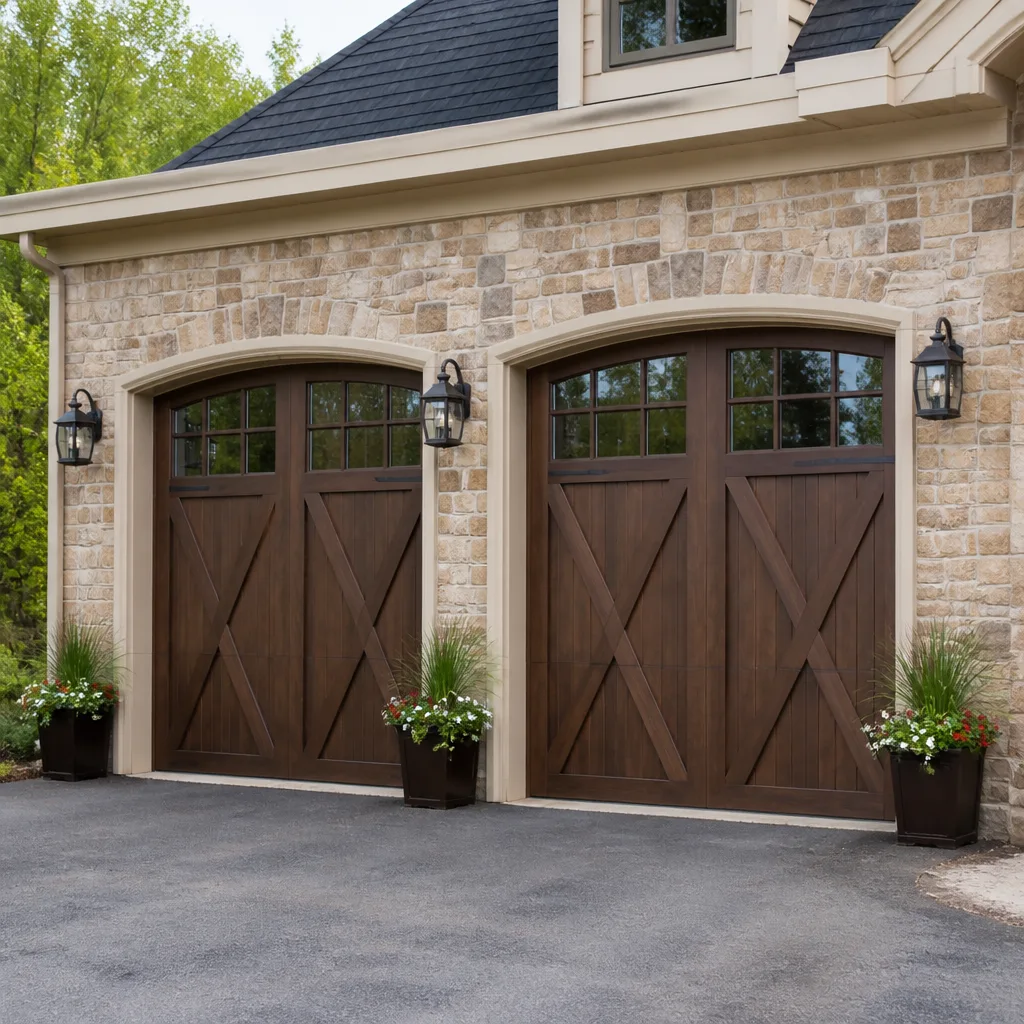 Carriage house
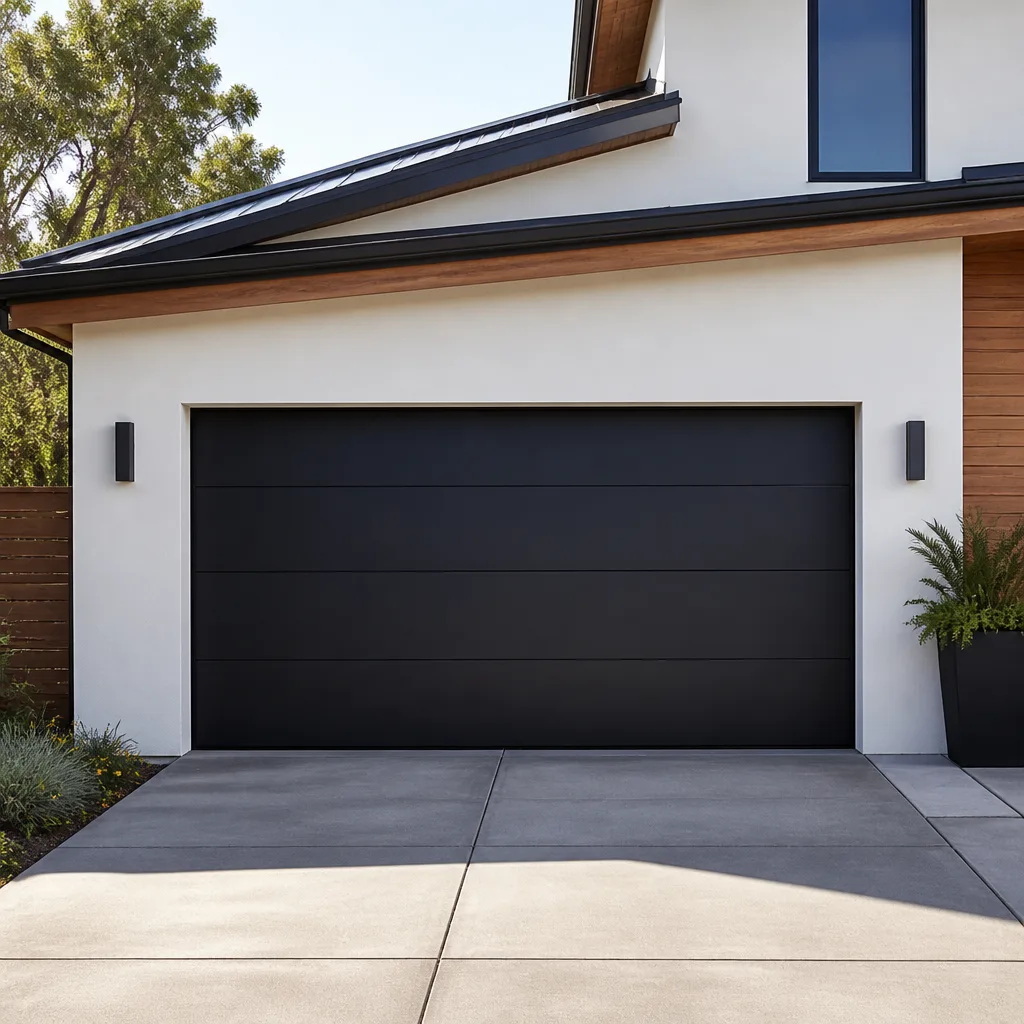 Modern flush
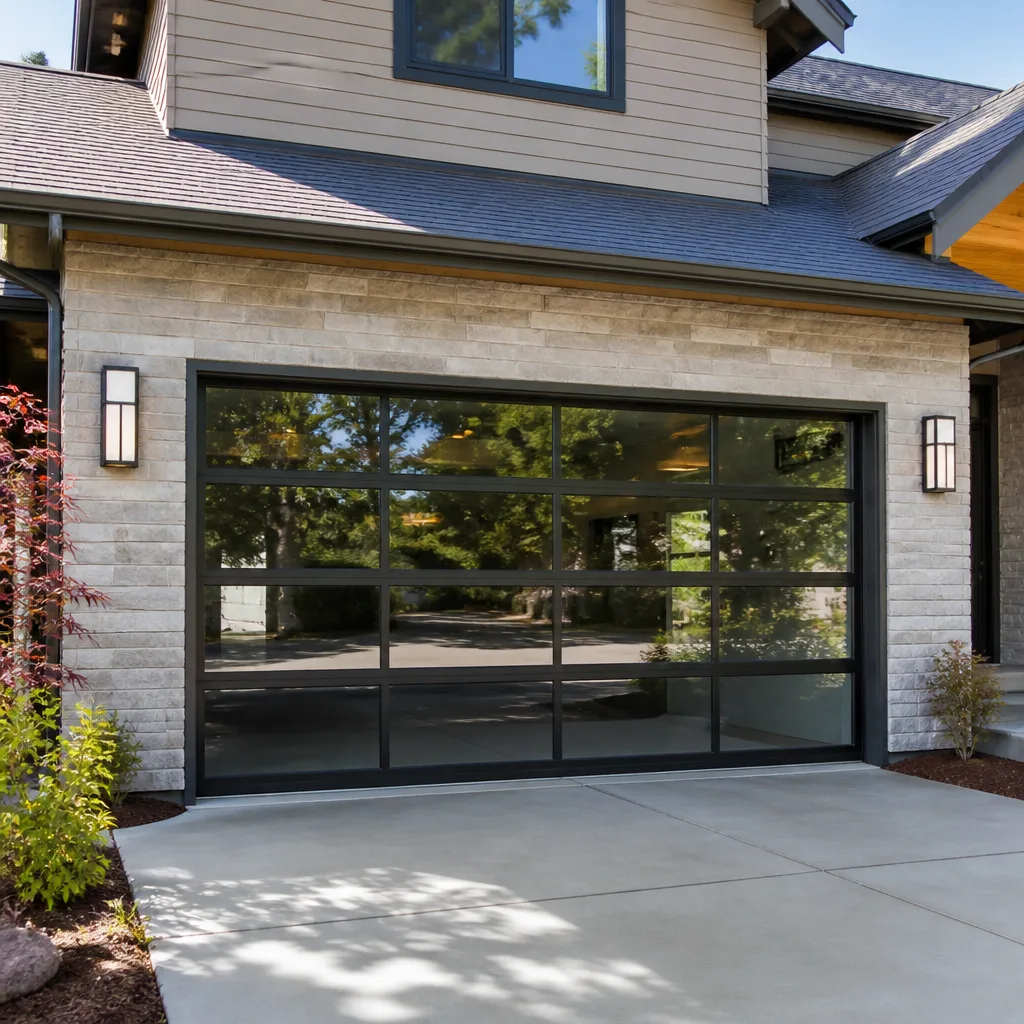 Full-view glass
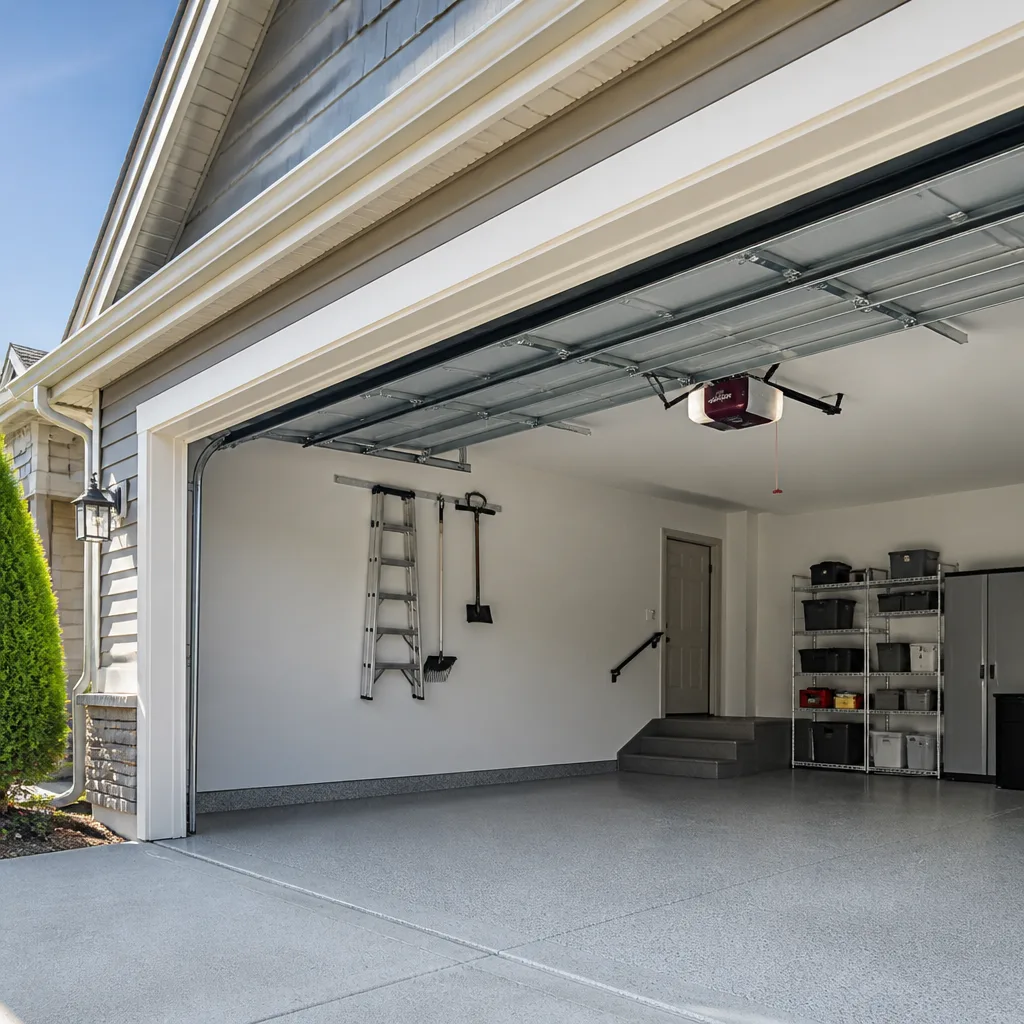 LiftMaster openers
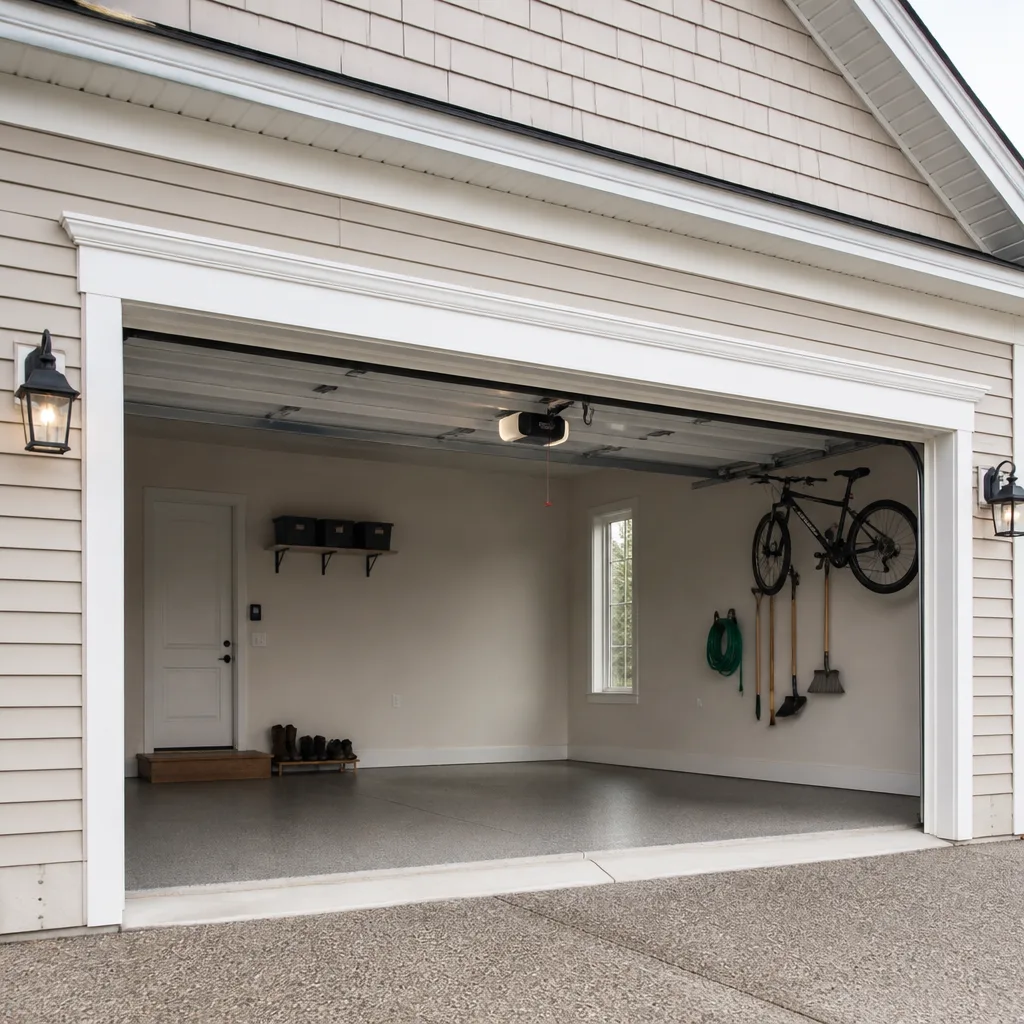 Chamberlain openers
Full 25-point door and opener safety check with every visit - springs, cables, rollers, tracks, and your LiftMaster or Chamberlain opener included
You get a price before we start. It does not change when the pro arrives.
Get your free estimateGarage Door Repair Maintenance Checklist for Burien Homeowners
The repair call that fills our schedule after a wet Burien winter usually isn’t a snapped spring. It’s a corroded bottom bracket or a seized cable drum – small parts that fail slowly, quietly, and predictably, and that a short inspection each year would have flagged long before the door stopped moving. That’s the trouble with most garage door maintenance checklists: they list generic chores like “lubricate moving parts” without connecting any of them to how a door actually breaks. This guide works the other way around. We built it backward from the failure modes we get called out for most across Burien, so every item on the list earns its place by preventing a specific repair. You’ll get pass/fail criteria, safe tests you can run yourself, and clear lines for when to stop and call a technician.
Quick Answer
A practical garage door maintenance checklist for Burien homeowners covers four things: a monthly visual and balance check, a seasonal look at weatherstripping and drainage, an annual lubrication and hardware-torque pass, and a spring and cable inspection done by eye only. The goal is to catch wear at the “monitor” stage rather than the “replace now” stage. Anything involving springs, cables under tension, or the torsion assembly is a professional job – those parts can cause serious injury, and no checklist item is worth that risk.
Styles & brands we work with
- Raised-panel steel
- Carriage house
- Modern flush
- Full-view glass
- LiftMaster openers
- Chamberlain openers
Table of Contents
- Why Garage Doors Fail in Burien’s Climate
- The Monthly Checklist: Five Minutes, Five Checks
- The Seasonal Checklist: Weatherstripping and Water Intrusion
- The Annual Checklist: Lubrication, Hardware, and Balance
- How to Check Your Springs Without Touching Them
- Cable and Drum Inspection: Reading the Stages of Fraying
- The Opener Force-Sensitivity Test and Why It Matters
- Brand-Specific Failure Patterns We Watch For
Why Garage Doors Fail in Burien’s Climate
Burien sits in a marine climate with wet winters, mild temperatures, and a lot of moisture hanging in the air for months at a time. That combination is gentle on some garage door components and hard on others. Wood and steel doors don’t face the freeze-thaw extremes of the mountains or the baking heat of eastern Washington, but they do face persistent damp. The parts that suffer most are the ones homeowners think about least: bottom brackets, cable drums, hinges, and the fasteners that hold everything together.
Here’s the pattern. Moisture works its way into the bottom of the door first, because that’s where splash from the driveway and runoff from the roofline collect. The bottom bracket and the lower hinges sit in that zone. When they start to corrode, they don’t fail immediately – they seize. A seized bracket or drum adds resistance to the whole system, and that resistance shows up elsewhere: the opener strains, the cables wear unevenly, and a spring that should last its full service life works harder than it should.
We see this weekly in Burien. A door that “suddenly” started acting up in February was usually telling its owner something in November. The seasonal moisture cycle here means the annual inspection window matters more than it would in a drier place. Do it in early fall, before the wet season sets in, and you’ll catch corrosion before it becomes seizure.
- Highest-risk zone: the bottom third of the door – brackets, bottom hinges, and the lowest cable section
- Second-highest risk: the torsion assembly at the top, where condensation collects on cold metal
- Often missed: the track fasteners and the wood or concrete the tracks are anchored to, which swell and shift with moisture
The Monthly Checklist: Five Minutes, Five Checks
A monthly check doesn’t need tools and doesn’t need you to touch anything under tension. It’s a walk-around with your eyes and ears. Five minutes once a month catches the slow changes that a once-a-year inspection would otherwise miss entirely. Here’s the sequence:
- Listen to the door. Run it up and down and stand still. A healthy door makes a steady, low mechanical sound. Grinding, squealing, popping, or a rhythmic thump means something is binding or worn. Note where in the travel the sound happens – bottom, middle, or top.
- Watch the door travel. It should move smoothly and stay level. If one side lags, the door racks slightly, or it shudders at a particular point, that’s a balance or track issue. Pass/fail: the door should move without visible wobble.
- Check the safety reverse. Put a roll of paper towels or a piece of scrap wood flat on the ground in the door’s path and close the door. It should reverse on contact. If it presses down and keeps going, stop using the opener and get it looked at – that’s a safety failure, not a nuisance.
- Look at the bottom seal. With the door closed, check that the rubber or vinyl seal meets the floor along its whole width. Gaps at the corners or a flattened, cracked seal mean water and pests have an entry point.
- Scan the hardware by eye. Look at the hinges, rollers, and brackets. You’re checking for rust blooms, loose bolts you can see are backed out, and rollers that look chipped or worn flat. Don’t put your hands near the springs or cables – just look.
Write down anything that fails. A monthly log makes the annual inspection far more useful, because you can tell a technician exactly when a sound started and where it happens. That detail shortens diagnosis, and it’s the kind of information a good technician in Burien will ask for anyway.
The Seasonal Checklist: Weatherstripping and Water Intrusion
Weatherstripping is where Burien’s climate does its most patient damage, and where homeowners most often misread the evidence. Not all seal wear is the same, and the difference matters. Normal compression wear looks like this: the seal is slightly flattened where it meets the floor, it may have a permanent set to its shape, but it’s still flexible and it still seals. Water-intrusion failure looks different. The seal is cracked, torn, hardened, or pulling away from its channel. You’ll often see daylight under the door at one corner, or a damp strip on the garage floor after rain.
Here’s how to tell them apart and what to do about each:
- Normal compression wear: the seal is flattened but pliable, the door still seals against the floor, no water gets in. Monitor it. No action needed.
- Early water-intrusion signs: a thin damp line on the floor after rain, the seal starting to harden or curl at the edges, small gaps at the corners. This is the “replace soon” stage – a new bottom seal is a straightforward job, and catching it now prevents the bottom bracket corrosion that follows.
- Active water intrusion: standing water, visible daylight under the closed door, a seal that’s torn or separated from its retainer. Replace now. Water reaching the bottom bracket and lower hinges is what starts the corrosion cycle that leads to seized hardware.
Don’t forget the sides and top. The perimeter seal around the door frame takes the same weather and fails the same way. Check it in fall, before the rains settle in, and again in spring to see how it held up. If your driveway slopes toward the garage, watch the seal more closely – it’s taking more water than a flat approach would deliver.
For doors with wood components, the seasonal check should include a look at paint and finish on the bottom rail. Moisture wicks into bare or checked wood, and a door that’s losing its finish at the bottom is a door that needs attention before the frame itself is affected.
The Annual Checklist: Lubrication, Hardware, and Balance
The annual pass is the deep one, and it’s best done in early fall in Burien so the door is set for the wet months. It includes everything in the monthly and seasonal checks plus the tasks below. Work top to bottom, and stop if anything feels unsafe.
- Lubricate the right parts with the right product. Use a garage-door-specific lubricant on hinges, rollers, and the torsion shaft bearings. Don’t use WD-40 as a lubricant – it’s a solvent, not a lasting lube. Don’t lubricate the tracks; they should be clean and dry. Wipe them down instead.
- Check the balance. Disconnect the opener (pull the release handle) and lift the door halfway by hand. It should stay where you put it, roughly. If it drops or rises on its own, the springs are out of balance and need professional attention.
- Torque check by eye and by hand. Look at every visible bolt and lag screw. Loose track brackets, hinge screws, and opener mounting bolts are common. Hand-tighten only what you can reach safely – never put a wrench on spring hardware.
- Inspect the rollers. Nylon rollers should be smooth and round. Steel rollers should spin freely without flat spots. Worn rollers cause the door to rack and the opener to strain.
- Test the opener’s safety features. Both the contact reverse (monthly item 3) and the photo-eye safety beam. The beam should stop the door if you break it with your leg while the door is closing. If either fails, the opener needs service before the door is used again.
This is also the point to look at the opener mounting and the door’s overall alignment. An opener that’s been working hard against a slightly binding door will show it – the motor runs hotter, the unit is noisier, and the drive gear wears faster. A door brought back into balance often makes an opener problem disappear. That’s why we handle door, opener, and spring work together rather than treating them as separate trades. They interact.
How to Check Your Springs Without Touching Them
Springs are the most dangerous component on a garage door. A torsion spring under tension stores enough energy to cause serious injury, and the manufacturers and insurers who warn against DIY spring work are right to. So this section is deliberately written as a look-only inspection. You will not touch the springs, you will not adjust them, and you will not try to “help” them. You’ll read their condition from a safe distance and know when to call.
What to look for, without contact:
- Gaps in the coil. A healthy torsion spring is a tight, even coil. A visible gap anywhere along its length means the spring has failed or is failing. That’s a stop-use-now signal.
- Rust and corrosion. Surface rust is common and not automatically a failure, but heavy pitting or flaking on the spring indicates a weakened coil. In Burien’s damp climate, springs in unheated garages do rust – it’s one reason spring service is a frequent call here.
- Stretched or sagging extension springs. If your door uses extension springs (the ones that run along the horizontal tracks), look for a stretched, sagging, or visibly deformed spring. Extension springs should have safety cables running through them – if the cables are missing, that’s a safety gap to address.
- Door behavior as a spring test. The safest spring check is operational. Disconnect the opener and lift the door by hand. A door that’s very heavy to lift, or that won’t stay up when you let go at halfway, is telling you the springs are tired or broken. A door that lifts easily and holds position is in reasonable balance.
If any of these checks point to a spring problem, stop using the door. Don’t run it with the opener, don’t force it, and don’t try to diagnose further. garage door spring repair is a job for technicians equipped and trained for high-tension hardware. A visible gap, a door that won’t hold position, or a snapped spring all mean the same thing: call, and leave it alone until someone qualified is there.
Cable and Drum Inspection: Reading the Stages of Fraying
Cables lift the door and hold it in tension against the springs. They fail progressively, and the stages are readable if you know what you’re looking at. This is another look-only inspection – never touch a cable under tension, and never try to respool a drum yourself.
The stages of cable wear:
- Stage 1 – cosmetic: the cable is intact, the strands are tight, and there may be light surface discoloration. Monitor at each monthly check. No action.
- Stage 2 – monitor: you see one or two broken outer strands, slight kinking, or the cable is starting to sit unevenly on the drum. This is the “monitor closely and schedule service” stage. Don’t ignore it – it progresses.
- Stage 3 – replace now: multiple broken strands, visible fraying that feels rough (look, don’t touch), the cable has jumped the drum, or it’s slack on one side. Stop using the door. A failing cable can whip loose with serious force.
Inspect the drums at the same time. The drum is the grooved spool the cable winds onto at the top corner of the door. Look for cable that’s crossed over itself, cable that’s come off the groove, or a drum that’s loose on its shaft. Corroded or seized drums are a common Burien failure – the moisture that attacks the bottom bracket also reaches the drum through condensation and capillary action along the cable. A drum that won’t turn freely puts the whole lifting load on the opener and the other cable, and that’s how a small problem turns into a two-cable replacement.
If you find anything at stage 2 or beyond, that’s a call. garage door repair on cables and drums is not a homeowner job, full stop. The parts are cheap; the injury risk isn’t.
The Opener Force-Sensitivity Test and Why It Matters
Your opener has a force-sensitivity setting – usually a pair of adjustment screws or a digital setting on newer units. It controls how much resistance the opener will push through before it reverses or stops. Set too high, the opener will force a binding door through resistance it shouldn’t, which strains the motor and defeats the safety reverse. Set too low, the door reverses for no reason on cold mornings. Either way, the test tells you whether the opener and door are working together or fighting each other.
How to run the test safely:
- With the door fully open, place a flat piece of scrap wood or a roll of paper towels on the floor in the door’s path, centered.
- Close the door using the opener and watch what happens when it contacts the object.
- The door should reverse immediately on contact and return to open. If it presses down hard before reversing, or doesn’t reverse, the force setting is too high – stop using the opener and get it adjusted or serviced.
- Test the photo-eye beam separately: with the door closing, break the beam with your leg. The door should reverse at once. If it doesn’t, the safety system needs attention.
The numbers on the adjustment screws vary by brand, so we won’t quote them here – they don’t transfer between a Craftsman unit and a LiftMaster, and a Wayne Dalton opener has its own protocol. What matters is the behavior: an immediate, gentle reverse on contact. A door that slams before reversing is a door whose opener is set wrong, and that’s both a safety problem and a motor-longevity problem. The opener is forcing through resistance every cycle, which is exactly the kind of strain that shortens the life of the drive gear and the motor. If your opener is a modern smart-home unit, the force setting may be adjustable through the app – but the behavior test is the same.
If the reverse test fails, or if the door is reluctant and the opener is straining, that’s a call. garage door opener repair is one of our three core services, and we work on both legacy mechanical openers and modern smart-home platforms. We know the force protocols for the opener brands we work on, and we’ll adjust the unit to match the door rather than the other way around.
Brand-Specific Failure Patterns We Watch For
Different brands fail in different ways, and knowing the pattern shortens diagnosis. We work on eight major manufacturers – LiftMaster, Chamberlain, Genie, Clopay, Amarr, Wayne Dalton, Craftsman, and Raynor – so we’ve seen enough of each to know where to look first. A few examples from the guide’s checklist:
- Wayne Dalton doors often use a proprietary torsion system and specific hinge profiles. When a Wayne Dalton door starts to bind, the cause is usually a worn hinge or a track that’s shifted, not the springs – knowing that saves time.
- Craftsman openers (many of them older units) have a well-known drive gear that wears with age. A Craftsman that’s noisy or slipping is often a gear issue rather than a door issue, and the test is to run the opener with the door disconnected.
- Amarr and Clopay steel doors are common in Burien, and their bottom brackets and lower hinges are the parts most affected by our wet climate. The monthly bottom-seal check is the cheapest insurance against corrosion on either.
- Raynor doors use specific roller and hinge hardware; replacement parts need to match, which is a reason to have a technician who recognizes the brand before they arrive.
This is why the checklist above ends with a call rather than a DIY fix for anything under tension. The right technician doesn’t just fix the symptom – they recognize the system, know its typical failure modes, and get to the actual cause. That’s the whole point of Burien Garage Door Repair being a single-trade specialist. Every job is a garage door job, and the brand on your door is a brand we’ve worked on.
Common Mistakes to Avoid
- Lubricating the tracks. It seems logical and it’s wrong. Tracks should be clean and dry; lubricant attracts grit and causes the door to slip and bind.
- Using WD-40 as a lubricant. It’s a solvent, not a lasting lube. Use a garage-door-specific product on hinges, rollers, and bearings.
- Pulling the manual release while the door is under load. If the door is open and you pull the release, a door with weak or broken springs can drop. Only release when the door is fully closed.
- Trying to straighten a bent track by hand. Tracks are under load and misalignment is easy to make worse. A bent track is a technician job.
- Ignoring a failing safety reverse. A door that presses down on an object before reversing is a serious safety hazard, especially with kids or pets in the garage. Stop using the opener and get it serviced.
- Skipping the fall inspection. In Burien, the wet season is the test. A door checked in September is a door that’s set for winter; a door checked in June has a whole wet season ahead of it unchecked.
- Assuming a noisy door needs a new opener. Noise is usually a door-side or hardware issue. Diagnose before you replace.
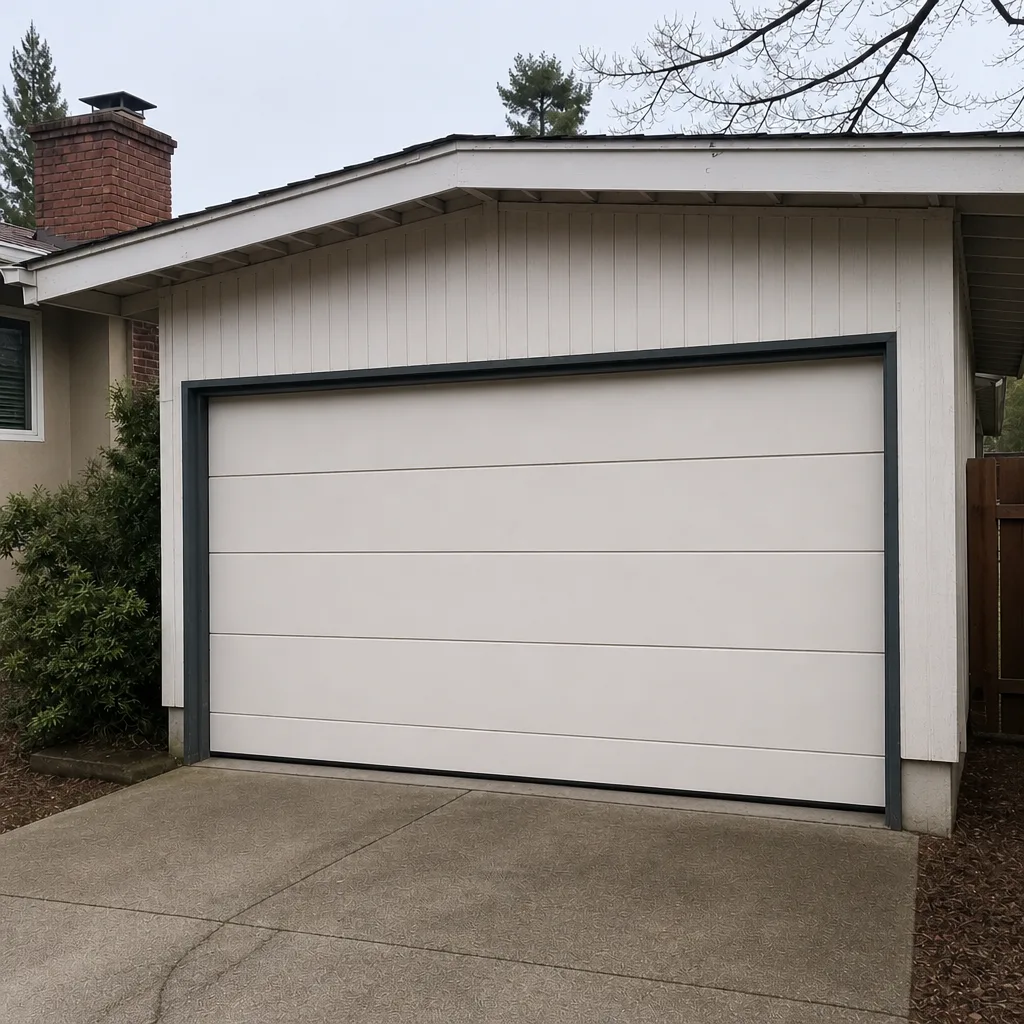
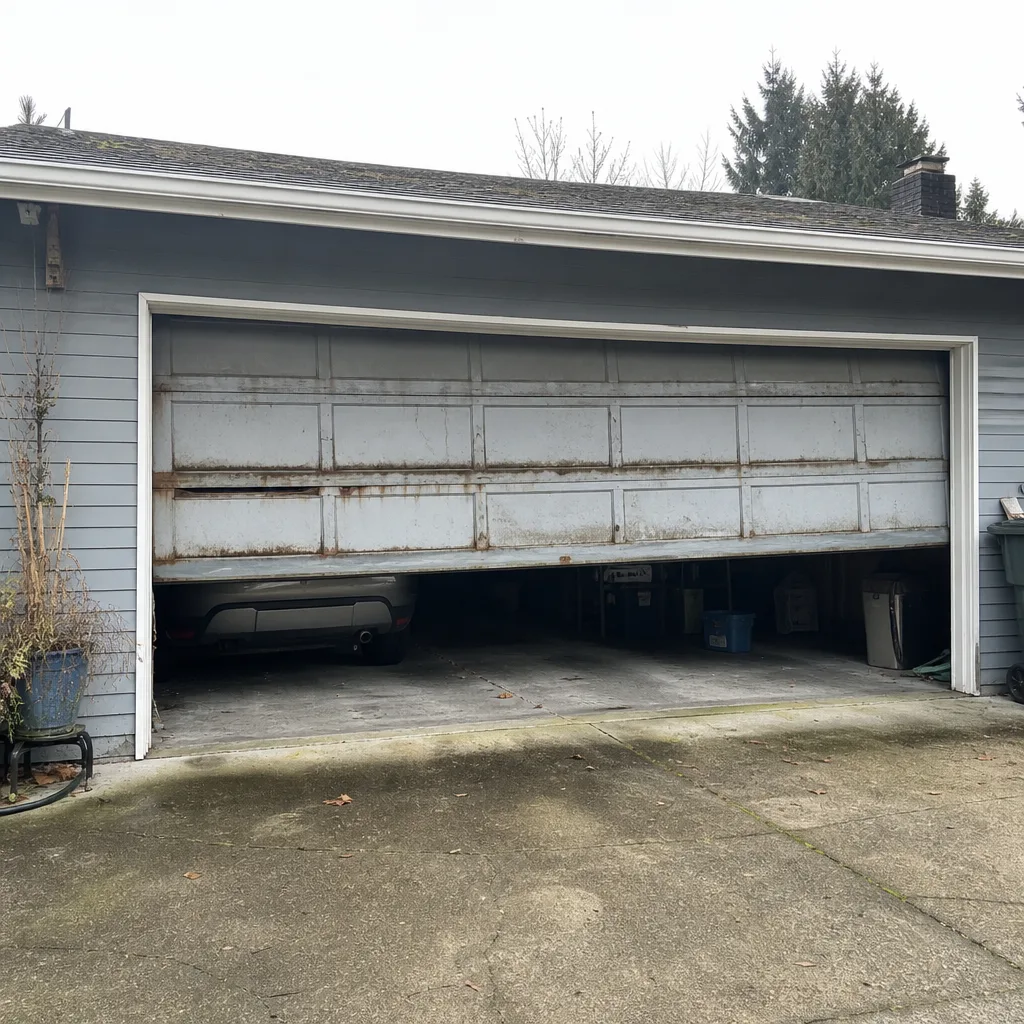
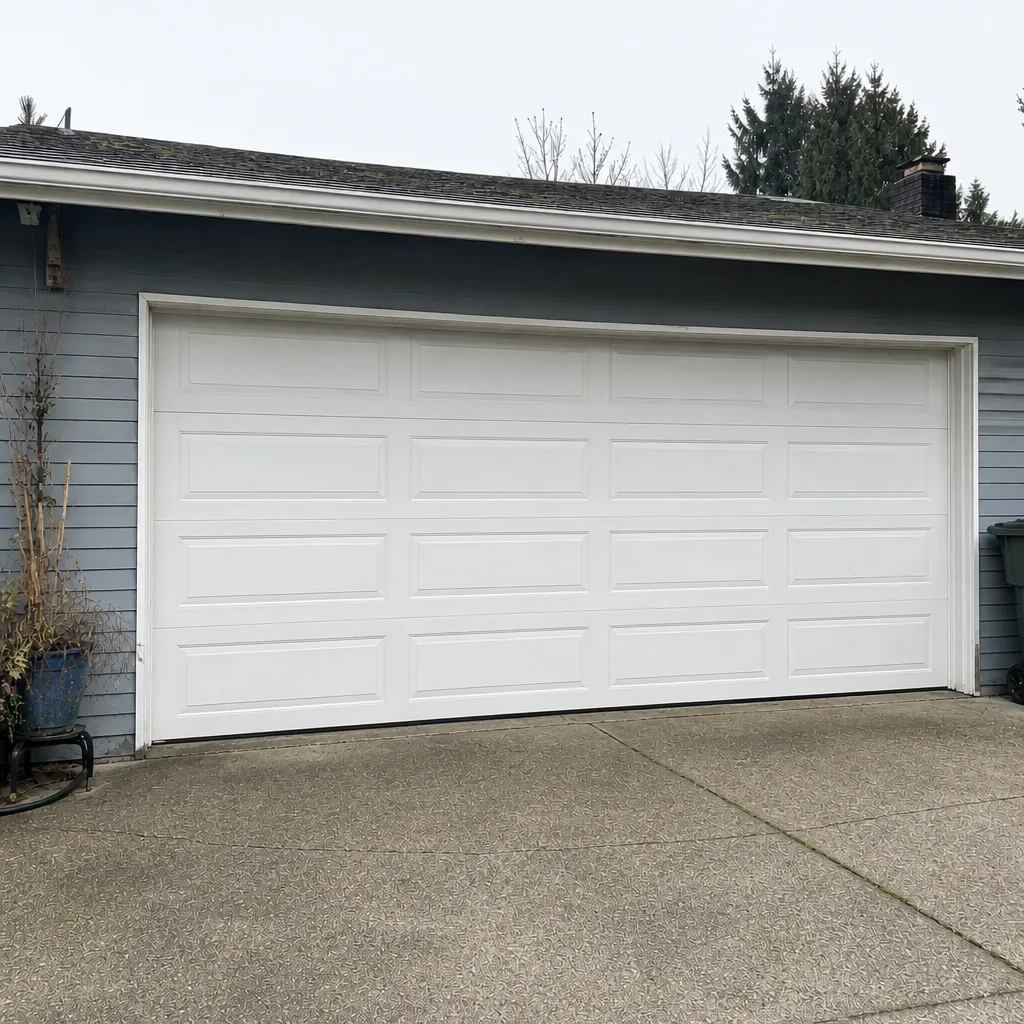
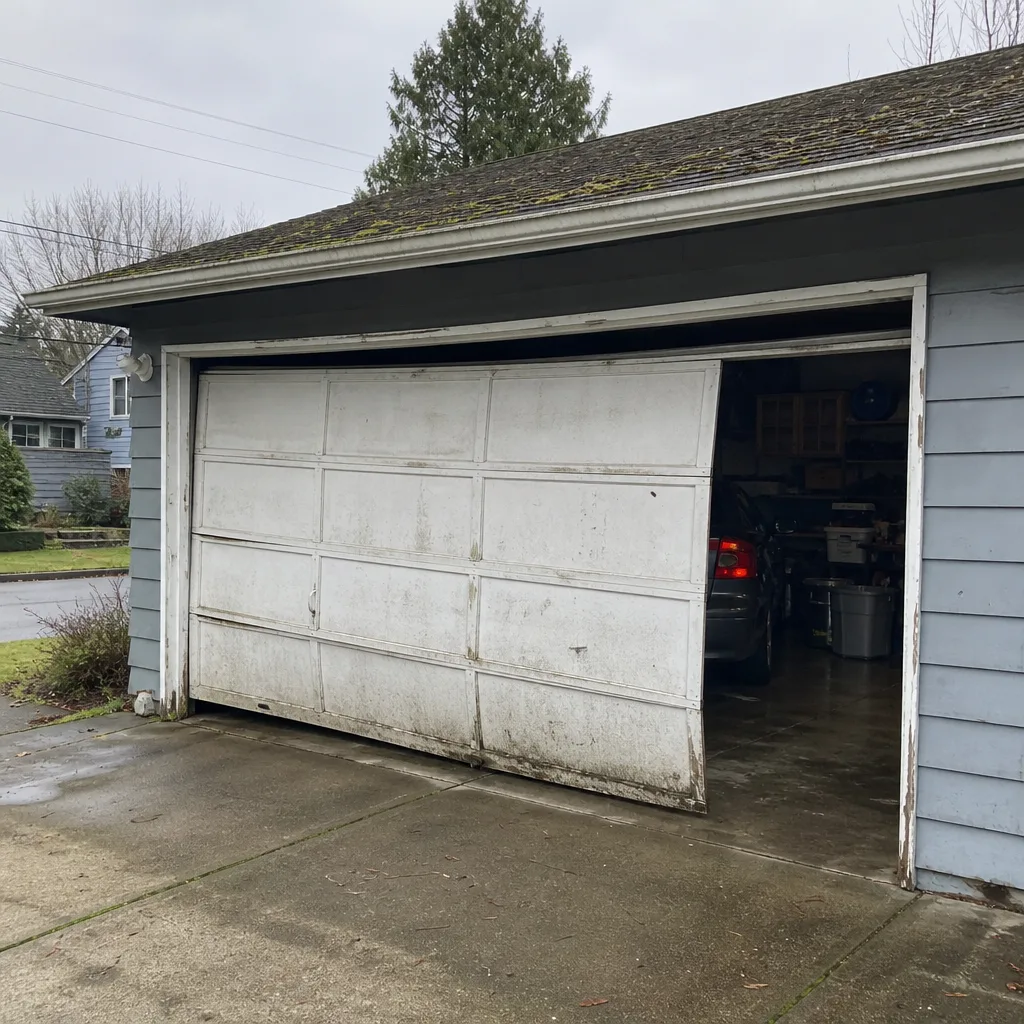
See the difference
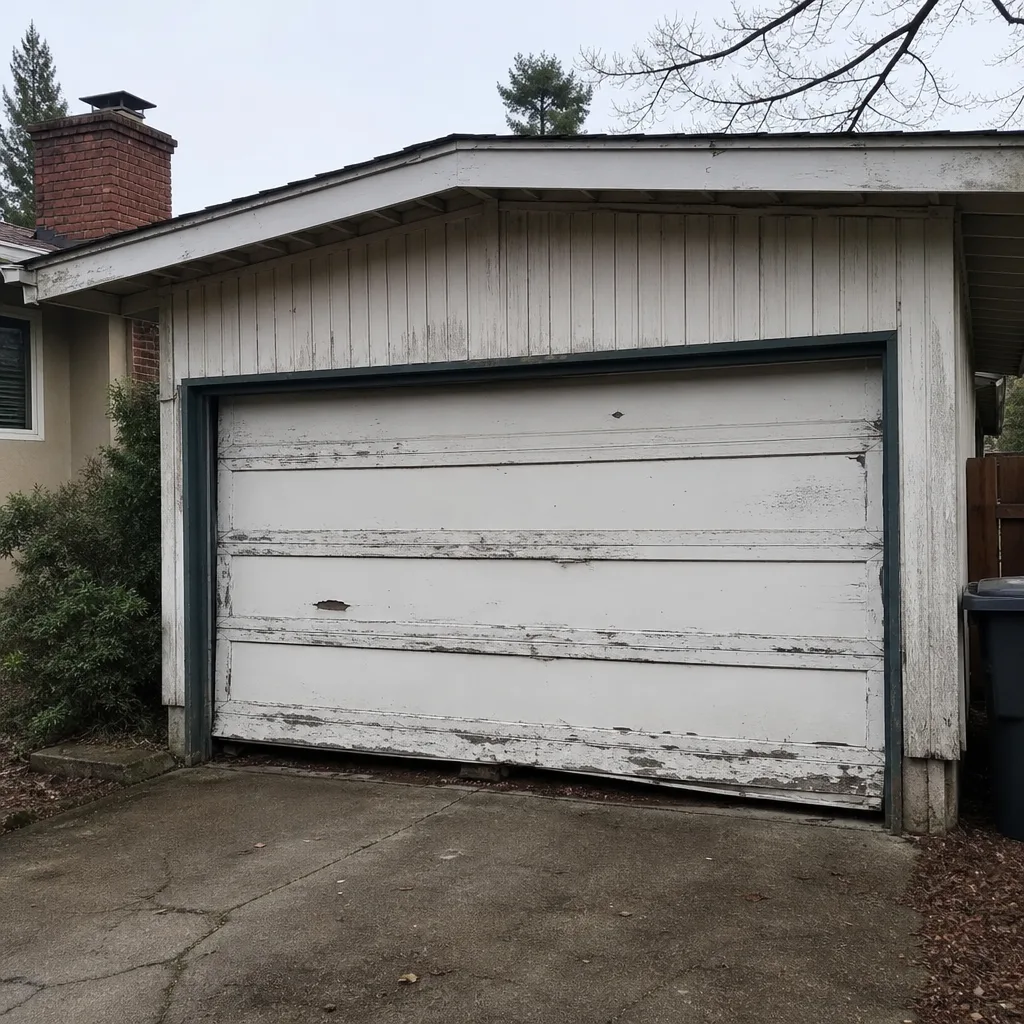 Before
 After
 Before
 After
 Before
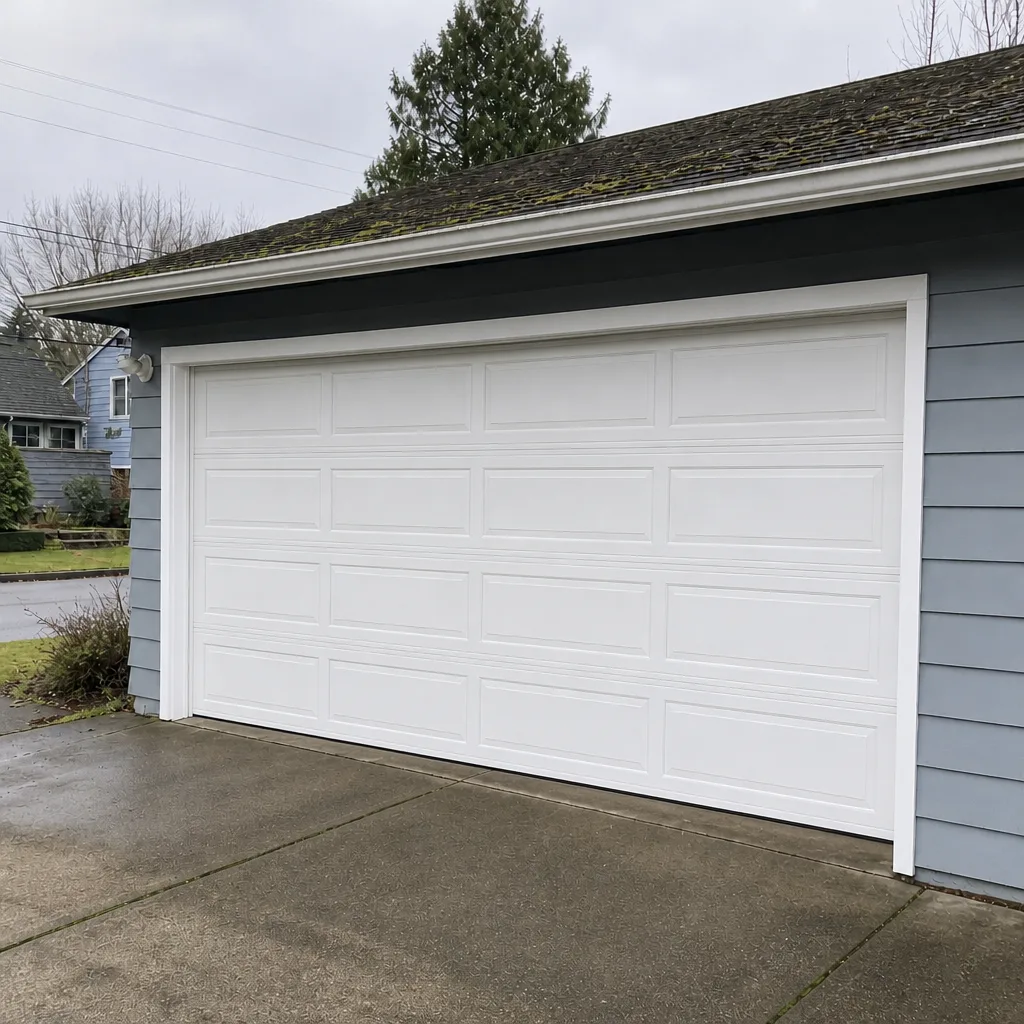 After
When to Call a Professional
Some items on this checklist are yours to run. Others cross a line the moment you reach them. Call a professional if you find a gap in a spring coil, visible cable fraying at stage 2 or beyond, a drum that’s seized or has cable off its groove, a safety reverse that fails, a door that won’t hold position when lifted halfway, or a bent track. Also call if the door is making a new sound you can’t place, or if the opener is straining against a door that seems heavier than it used to be. Those symptoms usually trace back to springs, cables, or balance – and all three are professional territory. Our technicians have up to 14 years of experience, and springs are handled with the proper equipment, not improvised. Burien Garage Door Repair offers free estimates in Burien – call (877) 619-3963. We answer 24/7. Fast dispatch from 7am to 7pm, Sunday through Friday.
Frequently Asked Questions
Once a year for a full inspection, with monthly five-minute checks and a seasonal weatherstripping review in fall and spring. Burien’s wet winters make the fall inspection the most important one, because it sets the door up before the moisture settles in. If your door is older, or you’ve noticed any new noise or hesitation, don’t wait for the annual window – call and get it looked at.
Yes, for the hinges, rollers, and torsion shaft bearings, using a garage-door-specific lubricant. Don’t lubricate the tracks, and never put your hands near the springs or cables. If lubrication doesn’t quiet a noise, the cause is usually wear rather than dryness, and that’s a call. Call (877) 619-3963 for an exact quote – estimates are free.
Look for a visible gap in the coil, heavy rust pitting, or a stretched, sagging extension spring. Then run the operational test: disconnect the opener and lift the door halfway by hand. If it won’t hold position, the springs are tired or broken. Stop using the door and call – spring work is the one job on this list you should never attempt yourself.
Not usually. A door that reverses randomly is more often a force-setting issue, a misaligned photo-eye, or a track obstruction. Test the photo-eye by breaking the beam while the door closes, and check the force-sensitivity reverse test. If both pass and the door still reverses, it needs diagnosis – call and we’ll sort it out.
Normal wear is a flattened but pliable seal that still keeps water out. Water intrusion shows as a cracked or hardened seal, daylight under a corner, or a damp strip on the floor after rain. The second kind feeds the corrosion cycle that seizes bottom brackets and drums – replace it before the wet season.
Very likely. We work on LiftMaster, Chamberlain, Genie, Clopay, Amarr, Wayne Dalton, Craftsman, and Raynor – the brands on most Burien homes. Brand familiarity means the technician arrives already knowing the typical failure modes for your system. Call (877) 619-3963 with the brand and model if you have it, and we’ll confirm before booking.
The Bottom Line
A garage door maintenance checklist earns its keep when every item maps to a real failure. The monthly five-minute walk-around catches binding and safety-reverse failures early. The seasonal weatherstripping check is the front line against water intrusion in Burien’s wet climate, and the difference between normal compression wear and active intrusion is the difference between monitoring and replacing. The annual pass handles lubrication, balance, and hardware. Springs and cables are look-only, always – a visible gap or fraying means stop and call. Build the log, run the checks, and know where the line is. That’s how a door stays out of the repair queue.
Need a hand with any of it? Call Burien Garage Door Repair at (877) 619-3963 for a free estimate. We answer 24/7. Fast dispatch from 7am to 7pm, Sunday through Friday. We’ll check the door, tell you what we find, and give you a written price before any work starts.
Written by the team at Burien Garage Door Repair.